You know those nights when you’re not exactly hungry… but you need something sweet? That was me. It was past 10 p.m., the kitchen was technically “closed,” and I wanted a dessert that didn’t involve preheating an oven, washing five bowls, or pretending I had self-control.
I opened the freezer. Ice cream.
I opened the pantry. Fruit Roll-Ups.
And then I remembered the viral fruit roll-up ice cream hack that has been taking over TikTok and Instagram.
To be honest, I think I discovered the hack a long time ago in fifth grade. We had this huge party in class with a bunch of food and snack. I remember putting ice cream on fruit roll up and got amazed at how cool it sounds when i tap on it. The rest of my classmates follow in on the trend. Unfortunately, social media was nonexistent during my fifth grade year or I would have gone viral.
I know this dessert is worth making, but some of you out there might still be skeptical. So I'm going to show you how it works, step-by-step instructions, tips to make it perfect, and my honest thoughts.
Spoiler: I made it twice in one night.
What Is the Viral Fruit Roll-Up Ice Cream Hack?
The viral fruit roll-up ice cream hack occurs when the cold ice cream touches the fruit roll-up, then instantly hardens and turns into a thin, crunchy shell. It’s almost like a fruity candy coating, but lighter, thinner, and way more fun.
So instead of soft, chewy fruit leather, you get this:
- Crisp, crackly outer layer
- Creamy, cold ice cream center
- A sweet-tart flavor contrast
It reminds me of a cross between a frozen candy shell and a nostalgic childhood snack.
And the best part? You don’t need a stove. You don’t need chocolate. You don’t need any fancy equipment. Just pantry + freezer.
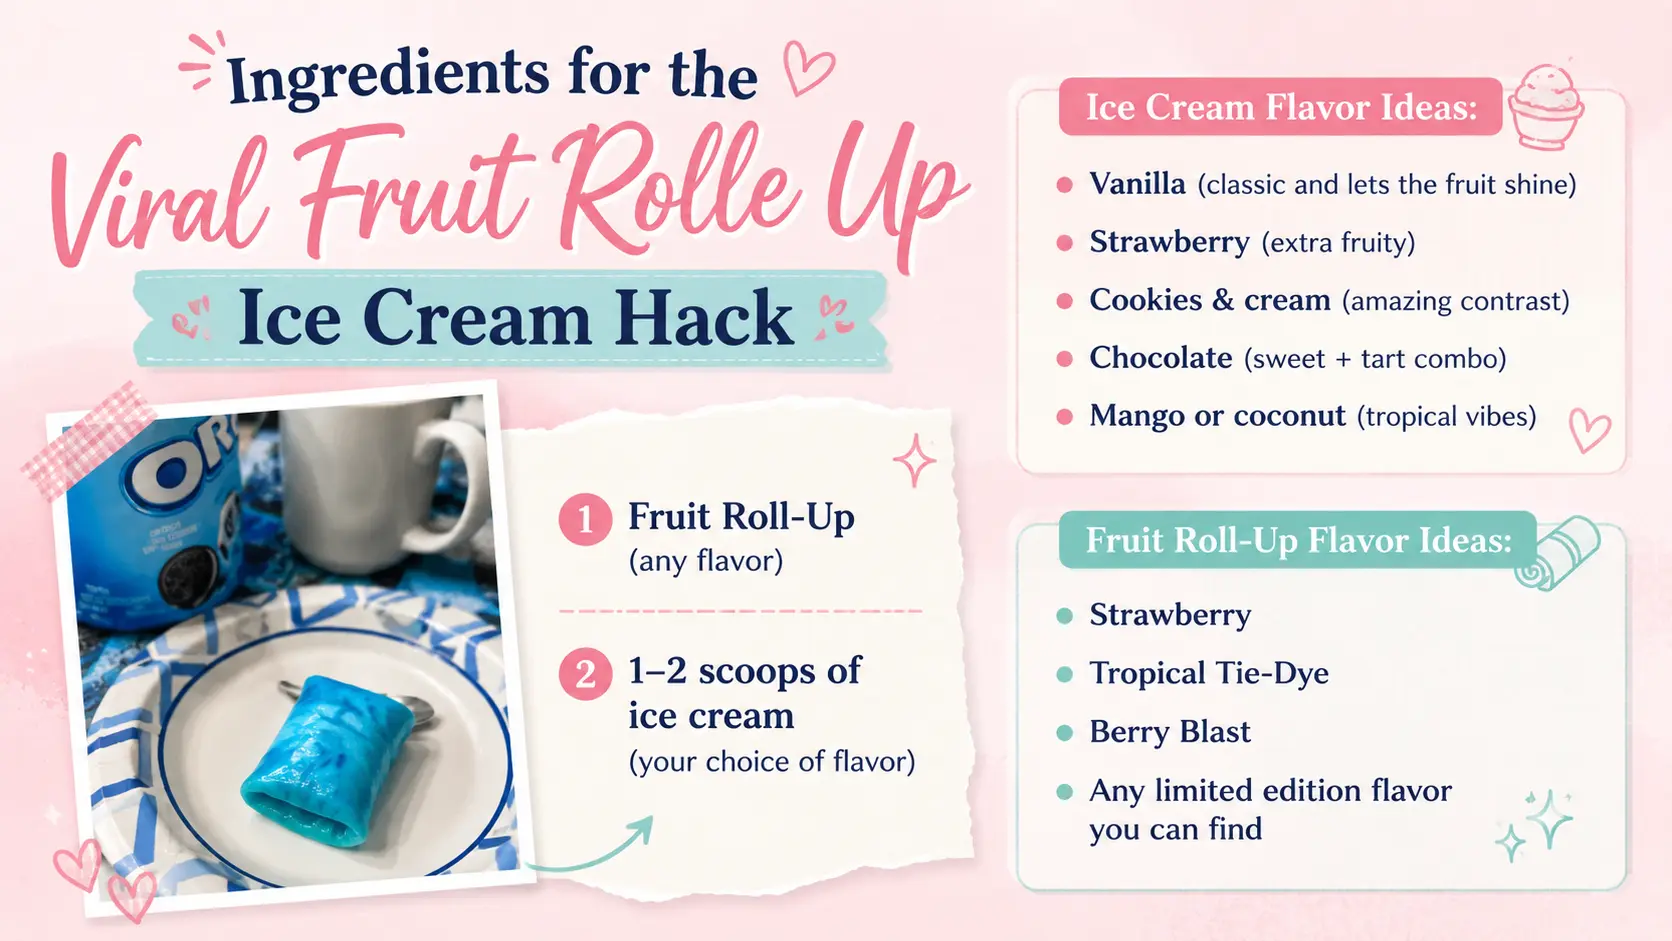
Ingredients You’ll Need for the Viral Fruit Roll-Up Ice Cream Hack?
The beauty of this viral ice cream hack is its simplicity.
Here’s what you will need:
Step-by-Step: How to Make the Fruit Roll-Up Ice Cream Hack
Here’s exactly how I made it ,including the little tricks that make it easier. Keep in mind, if fifth grader me can pull it off then you can as well :)
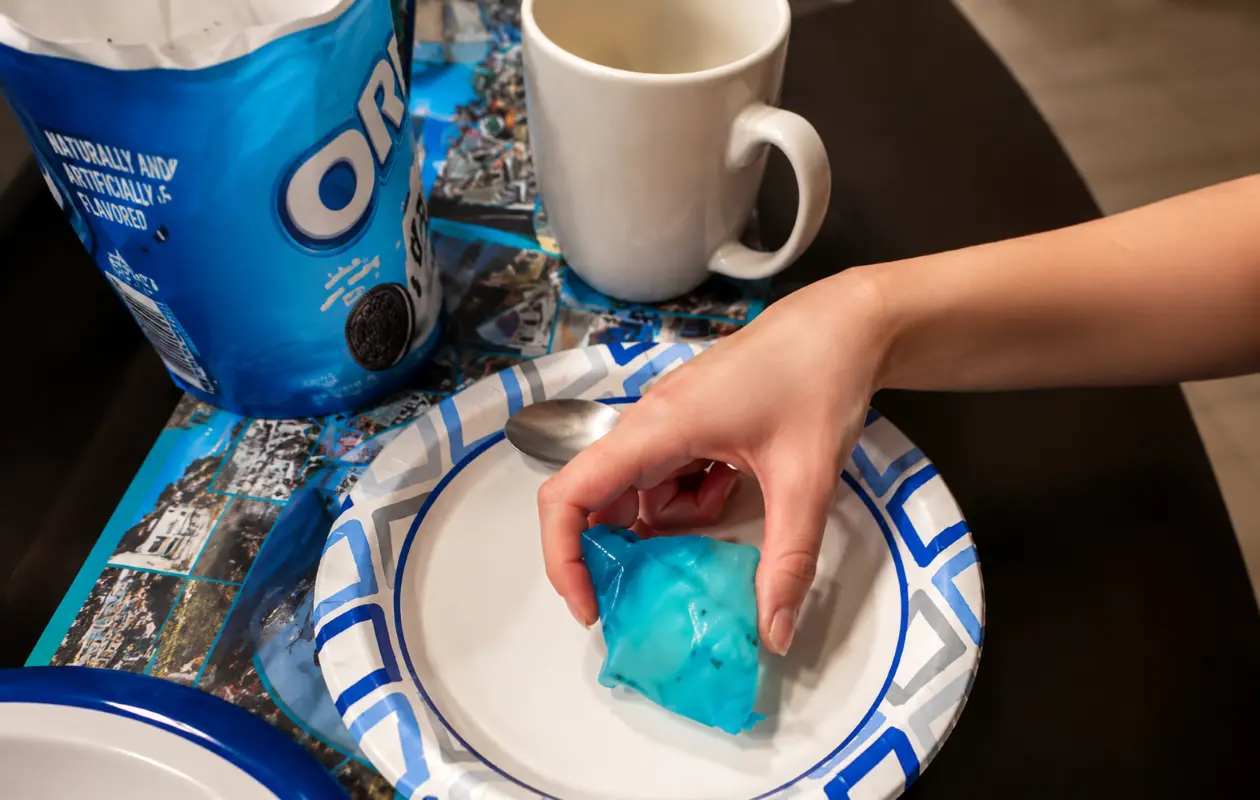
Step 1: Unwrap the Fruit Roll-Up
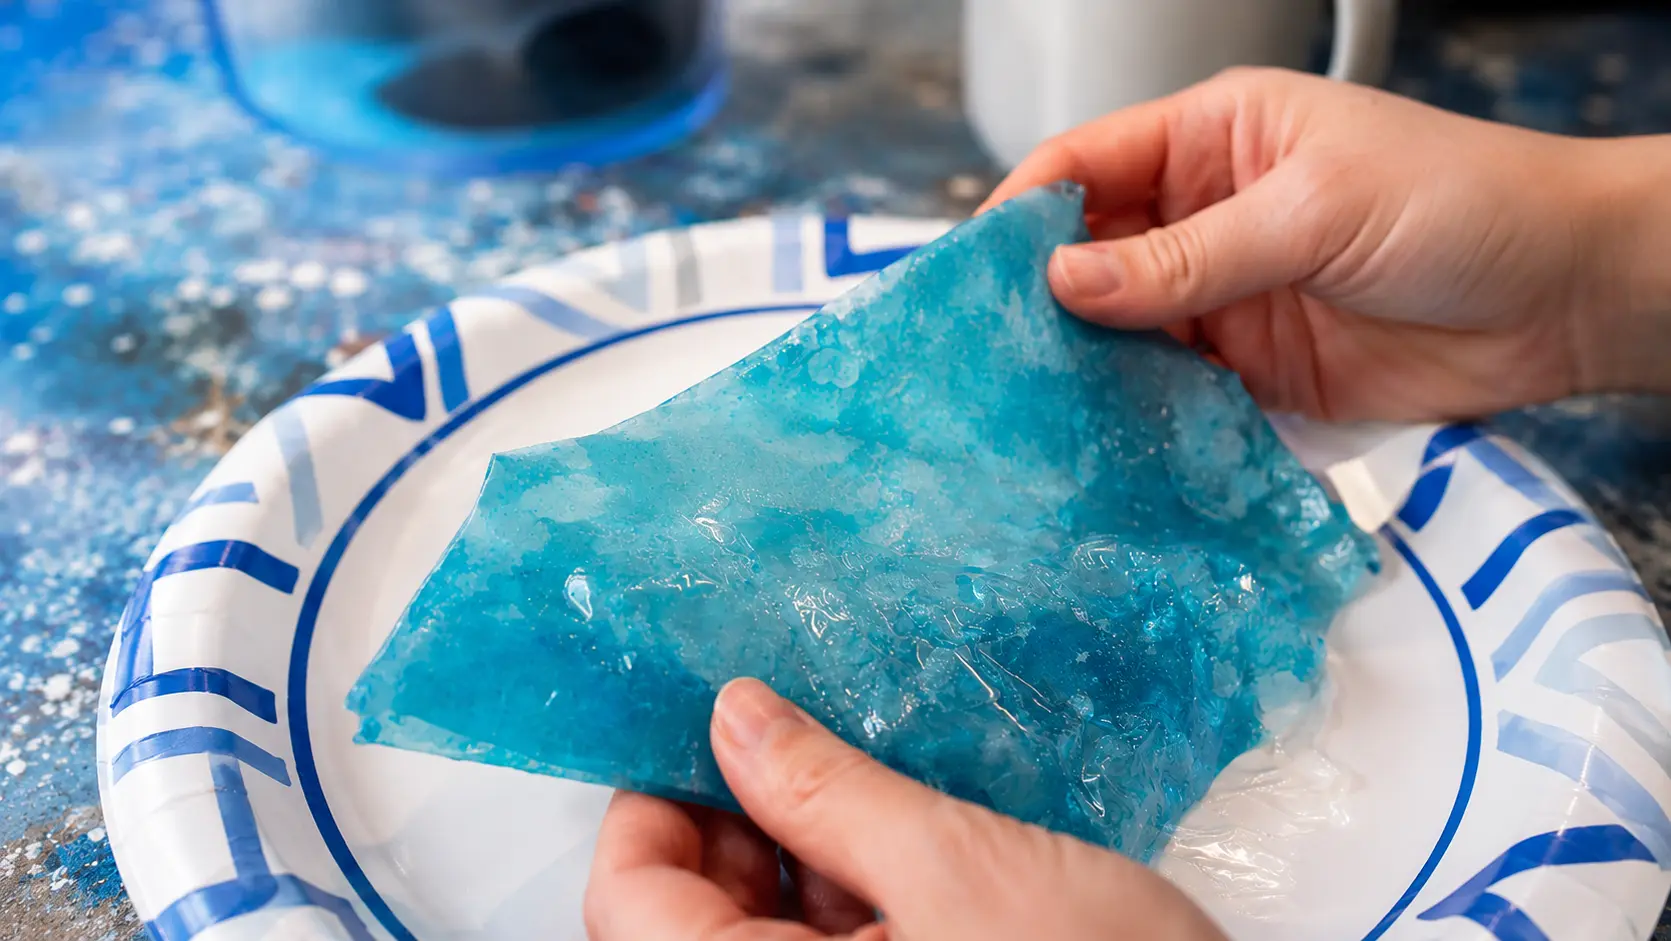
First, grab your fruit roll-up and peel it open. I won’t lie, this part is the most challenging.
Fruit roll-ups are sticky. Very sticky. As I peeled mine off the plastic sheet, it felt like I was wrestling a sugary ribbon.
Take your time. Gently pull it away from the plastic backing. Try not to stretch it too much because you want it intact so you can wrap it neatly.
Lay it flat on a plate or cutting board once it’s fully peeled.
Step 2: Warm Your Spoon (Trust Me)
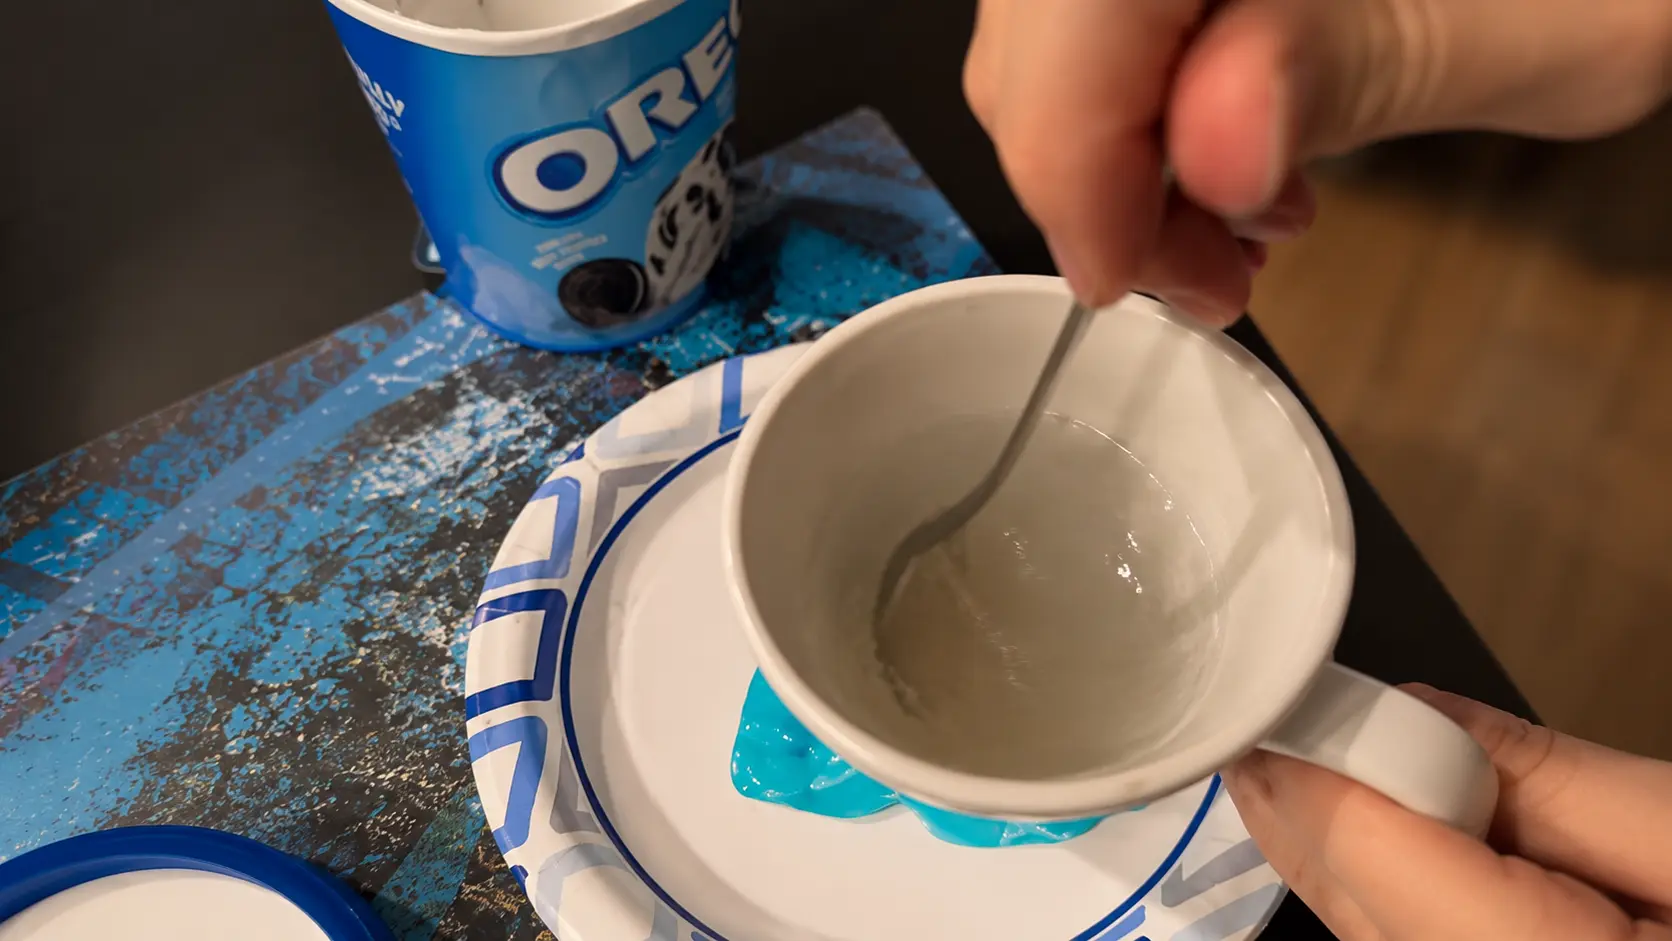
This is my favorite little trick. Before scooping the ice cream, I dipped my spoon into a cup of hot water for about 10–15 seconds.
Why?
Because a warm spoon glides through ice cream like butter., so you wouldn't accidentally bend your spoon or hurt your hand.
Game changer.
Step 3: Scoop the Ice Cream
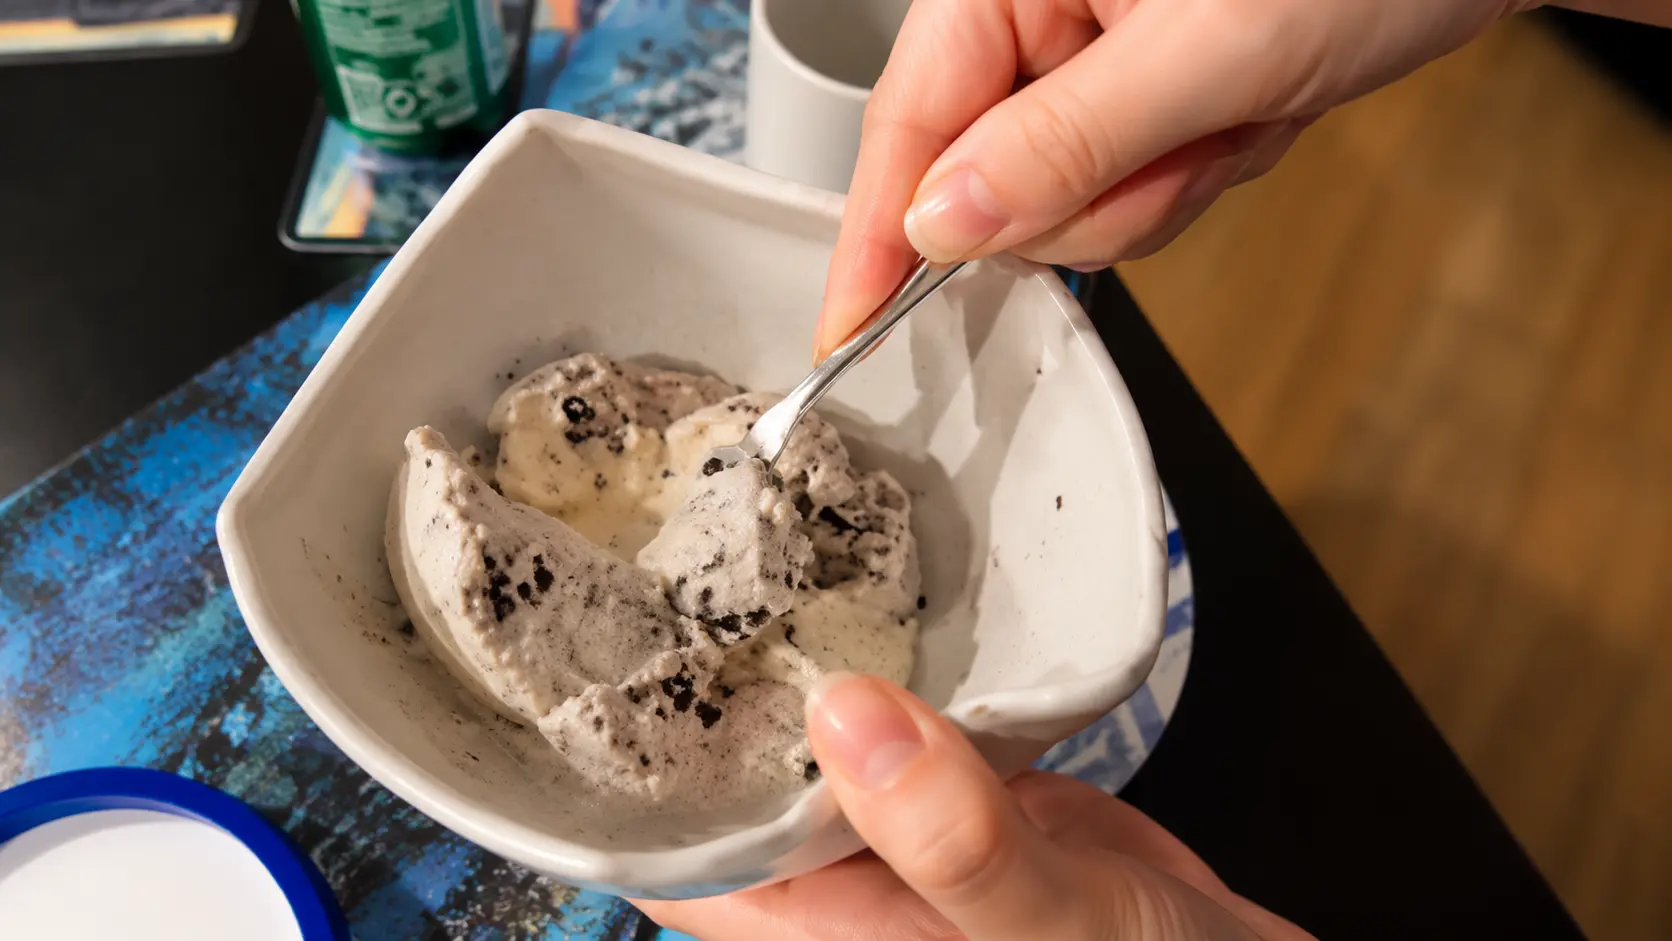
Take one generous scoop of ice cream. You don’t want it too massive, because the fruit roll-up needs to wrap around it completely.
Place the scoop right in the center of the fruit roll-up.
And work quickly because once the ice cream touches the fruit roll-up, it gets harden fast.
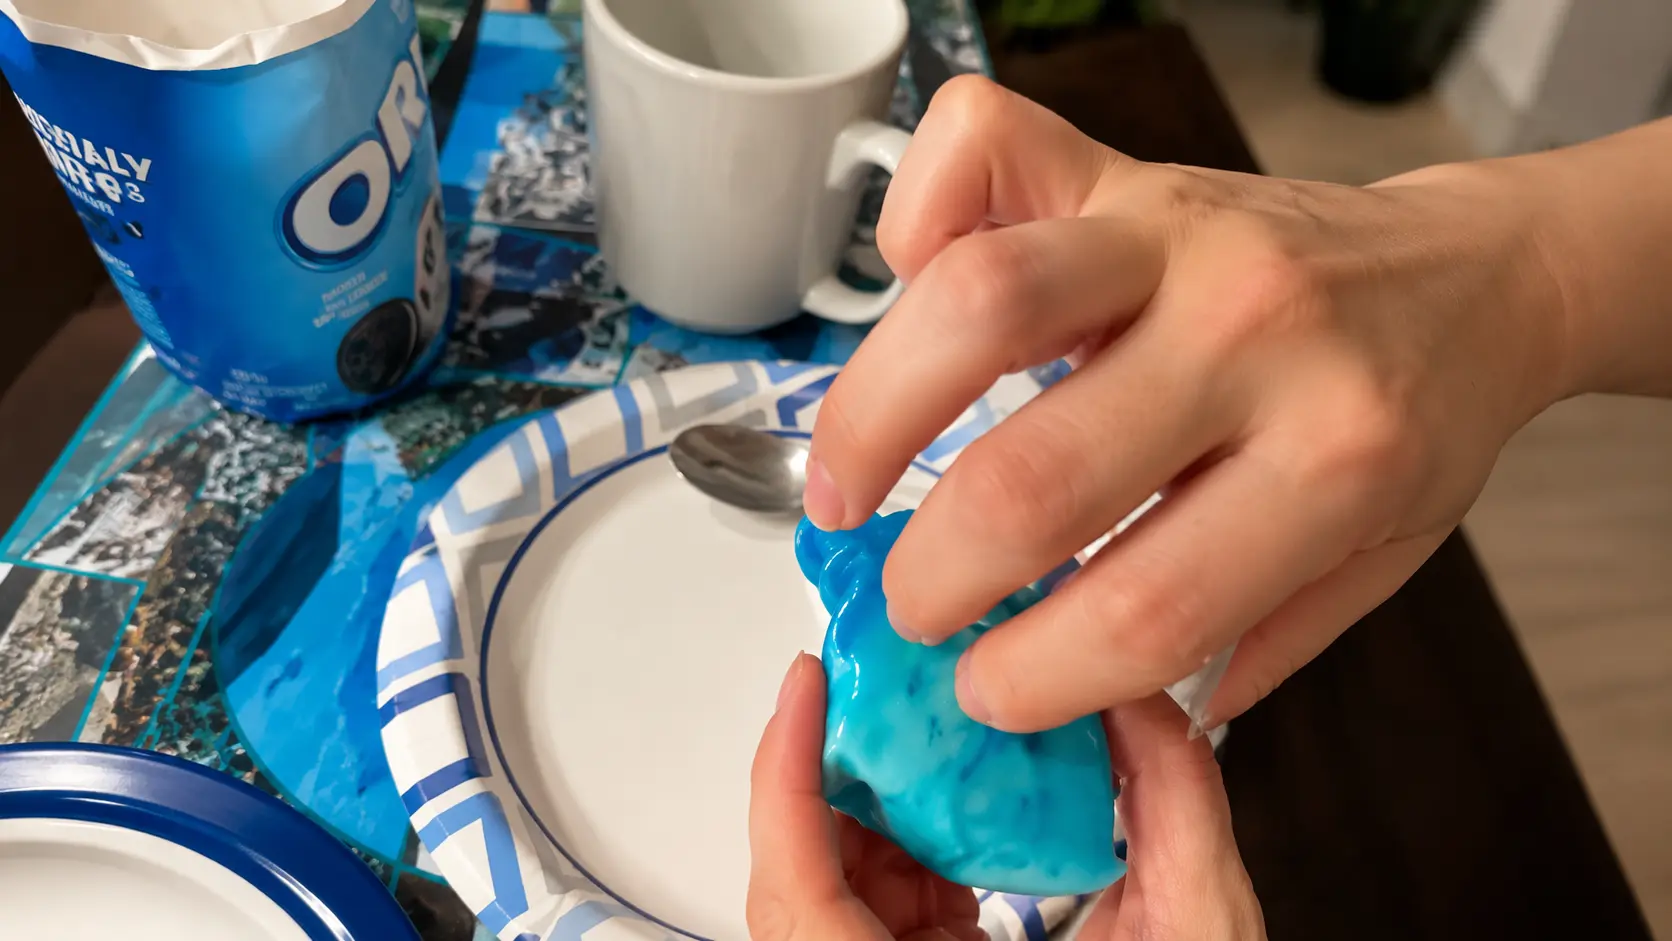
Step 4: Wrap It Up
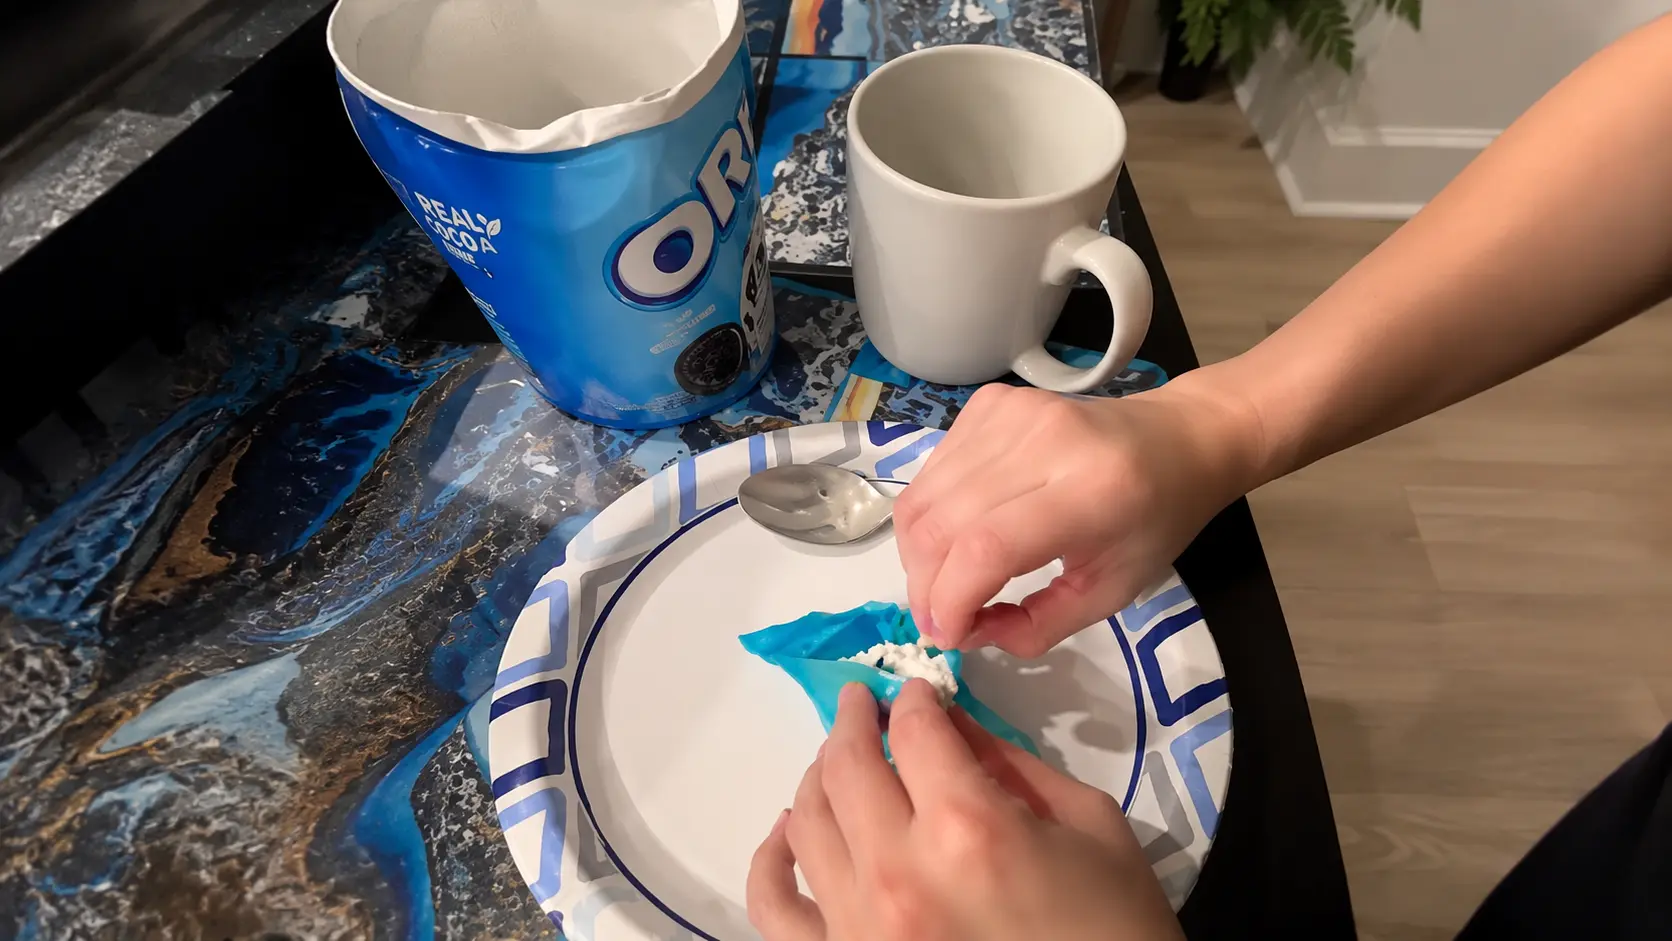
Fold one side of the fruit roll-up over the ice cream. Then fold the opposite side. Press gently to seal.
Within seconds, you’ll notice something cool (literally). The fruit roll-up starts to harden as it reacts to the cold temperature.
It transforms from sticky and soft to crisp and slightly crackly.
Step 5: Optional – Freeze for 1–2 Minutes
If you want it extra firm, pop it into the freezer for a minute or two.
But honestly? It hardens almost instantly. I barely had time to admire it before it was ready.
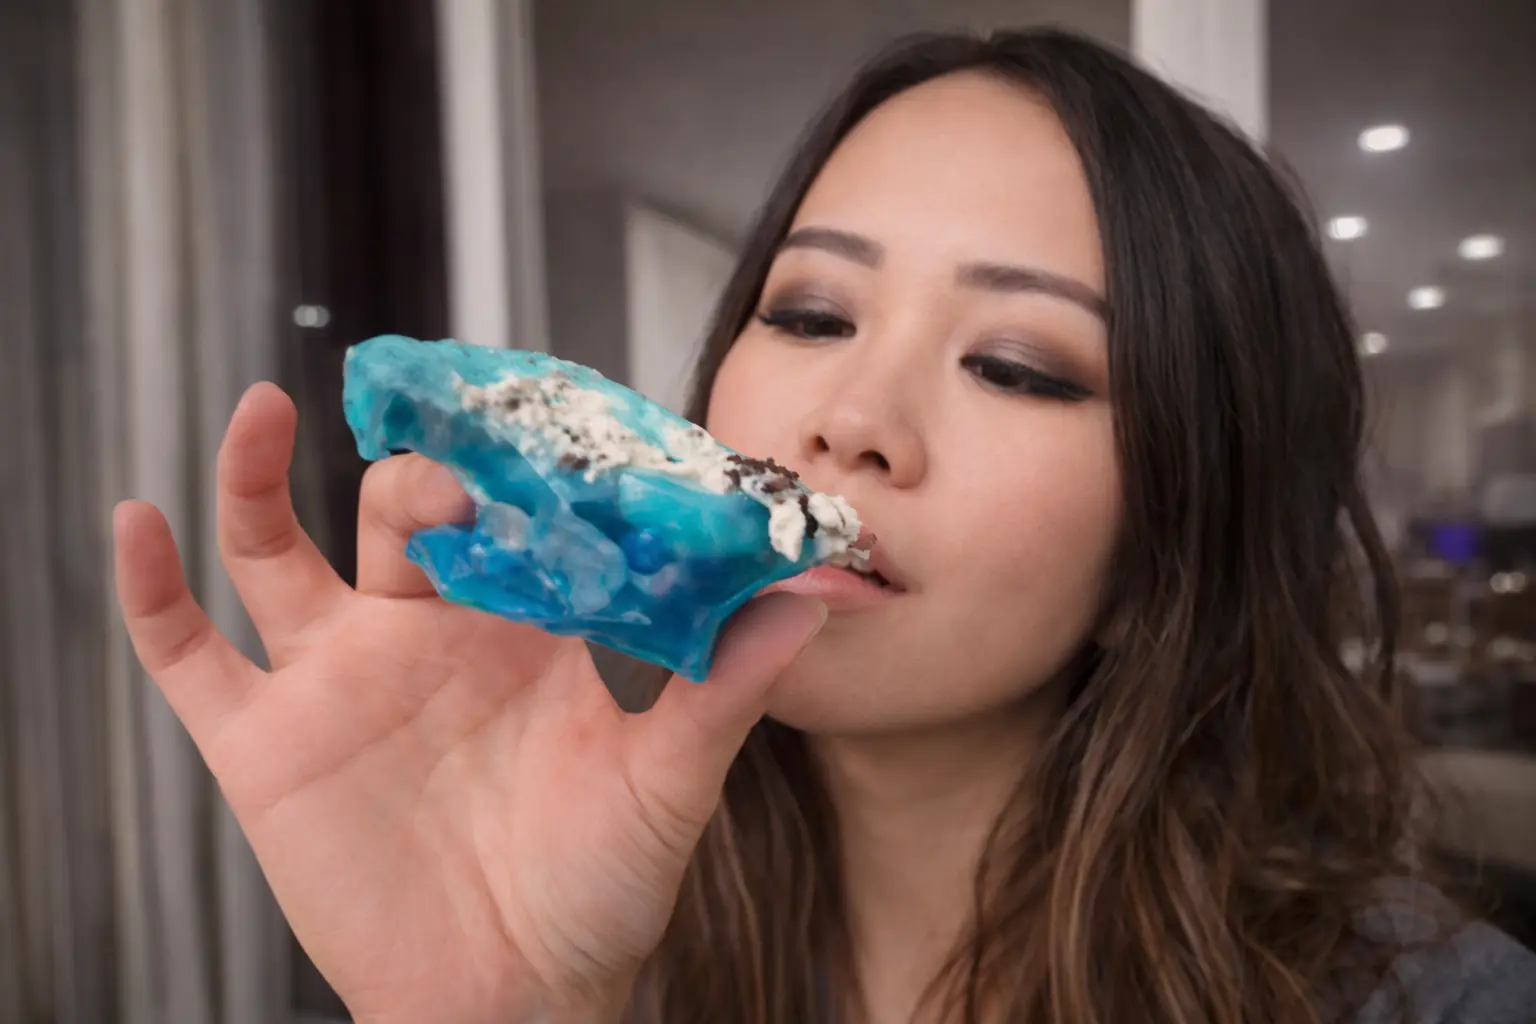
Step 6: Taste Test
This is the best part. Take a bite.
You’ll hear a little crack as the outer layer breaks. Then the creamy ice cream melts into that fruity shell.
It’s crunchy. Creamy. Sweet. Tart.
It’s weirdly satisfying.
Recommendations for Making It Perfect
After making this more than once (for research purposes, obviously), I learned a few things.
.webp)
1. Work Quickly
The fruit roll-up hardens fast, so don’t let the ice cream sit too long before wrapping.
2. Don’t Overfill
Too much ice cream makes wrapping messy and uneven.
3. Use Slightly Softened Ice Cream
If your ice cream is rock solid, let it sit out for 2–3 minutes before scooping.
4. Try Cutting It in Half
If you want bite-sized pieces, wrap the ice cream and then slice it in half. The cross-section looks amazing.
5. Experiment with Textures
Try adding:
- Mini chocolate chips
- Crushed cookies
- Sprinkles
- A drizzle of caramel inside before wrapping
Just keep it minimal so the fruit roll-up can still seal properly.
6. Serve Immediately
This is not a “make ahead” dessert. It’s best fresh, when the outside is crisp and the inside is perfectly creamy.
My Honest Thoughts
I love this dessert, and if left unsupervised, I could easily eat six of them. It's especially nostalgic for me because I used to make these back in fifth grade.
The challenge is that I'm pretty slow, so I often make the mistake of trying to fold a Fruit Roll-Up after it has already hardened. But when I move quickly enough, I get the satisfaction of tapping on it once it's finished.
That hard, crispy sound is incredibly satisfying, and don't even get me started on the crunch when you take that first bite.
Overall, I highly recommend making this dessert, you won't regret it!


.png)


.webp)