There are days when I feel like I’m juggling a million things at once. Between work, life, and trying to stay energized without reaching for my third cup of coffee, I needed something quick, easy, and actually satisfying. That’s when I stumbled into making these no-bake energy balls, and honestly, they’ve been a lifesaver.
What I love most is how ridiculously simple they are. No oven, no complicated steps, and no long list of ingredients you have to hunt down. Just mix, roll, chill, and suddenly you have these perfect little bites that feel like a treat but fuel you like a power snack.
If you’re anything like me and need something you can grab between Zoom calls or while running around the house, keep reading. These are about to become your new obsession.
What Is a No-Bake Energy Ball
A no-bake energy ball is exactly what it sounds like. It’s a bite-sized snack made by mixing wholesome ingredients together and rolling them into small balls without any baking involved.
Think of it as the perfect middle ground between dessert and fuel. It has the sweetness and texture of a treat, but it’s packed with ingredients that actually keep you going throughout the day.
For me, these energy balls are that magical snack that feels indulgent but still supports my busy lifestyle. They are soft, slightly chewy, a little chocolatey, and just the right amount of sweet.
Ingredients You’ll Need
The beauty of this recipe is its simplicity. Everything comes together with pantry staples that you probably already have at home.
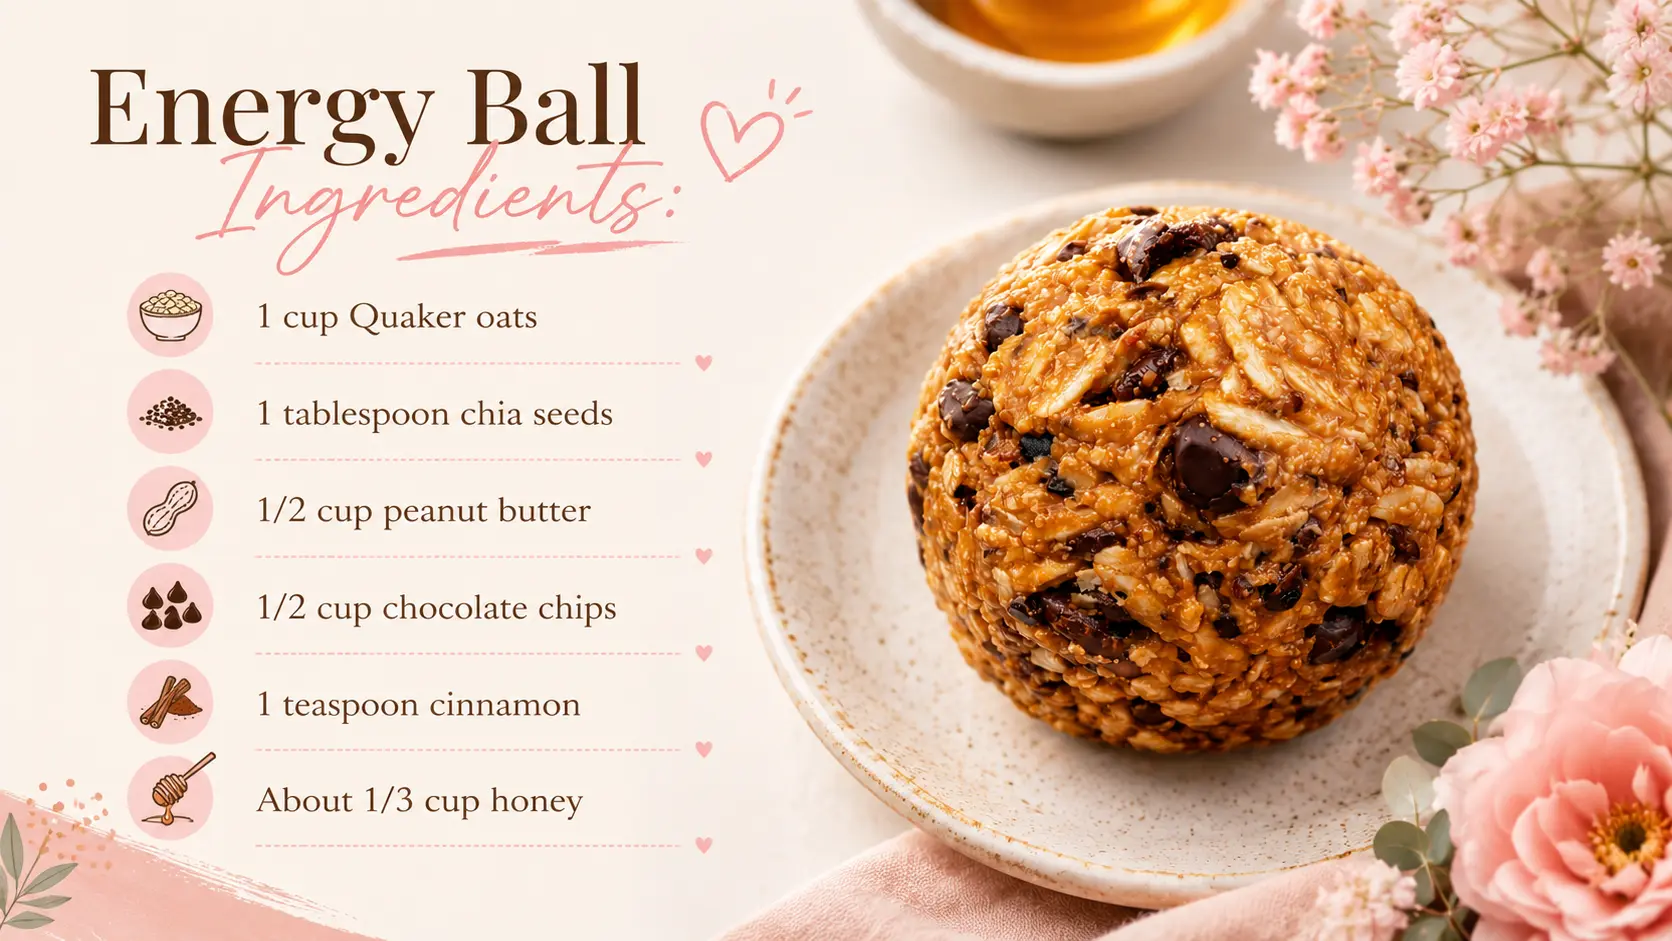
Here’s exactly what I use:
- 1 cup Quaker oats
- 1 tablespoon chia seeds
- 1/2 cup peanut butter
- 1/2 cup chocolate chips
- 1 teaspoon cinnamon
- About 1/3 cup honey
That’s it. No hidden ingredients, no complicated substitutions. Just real, simple components that come together perfectly.
Step-by-Step Instructions
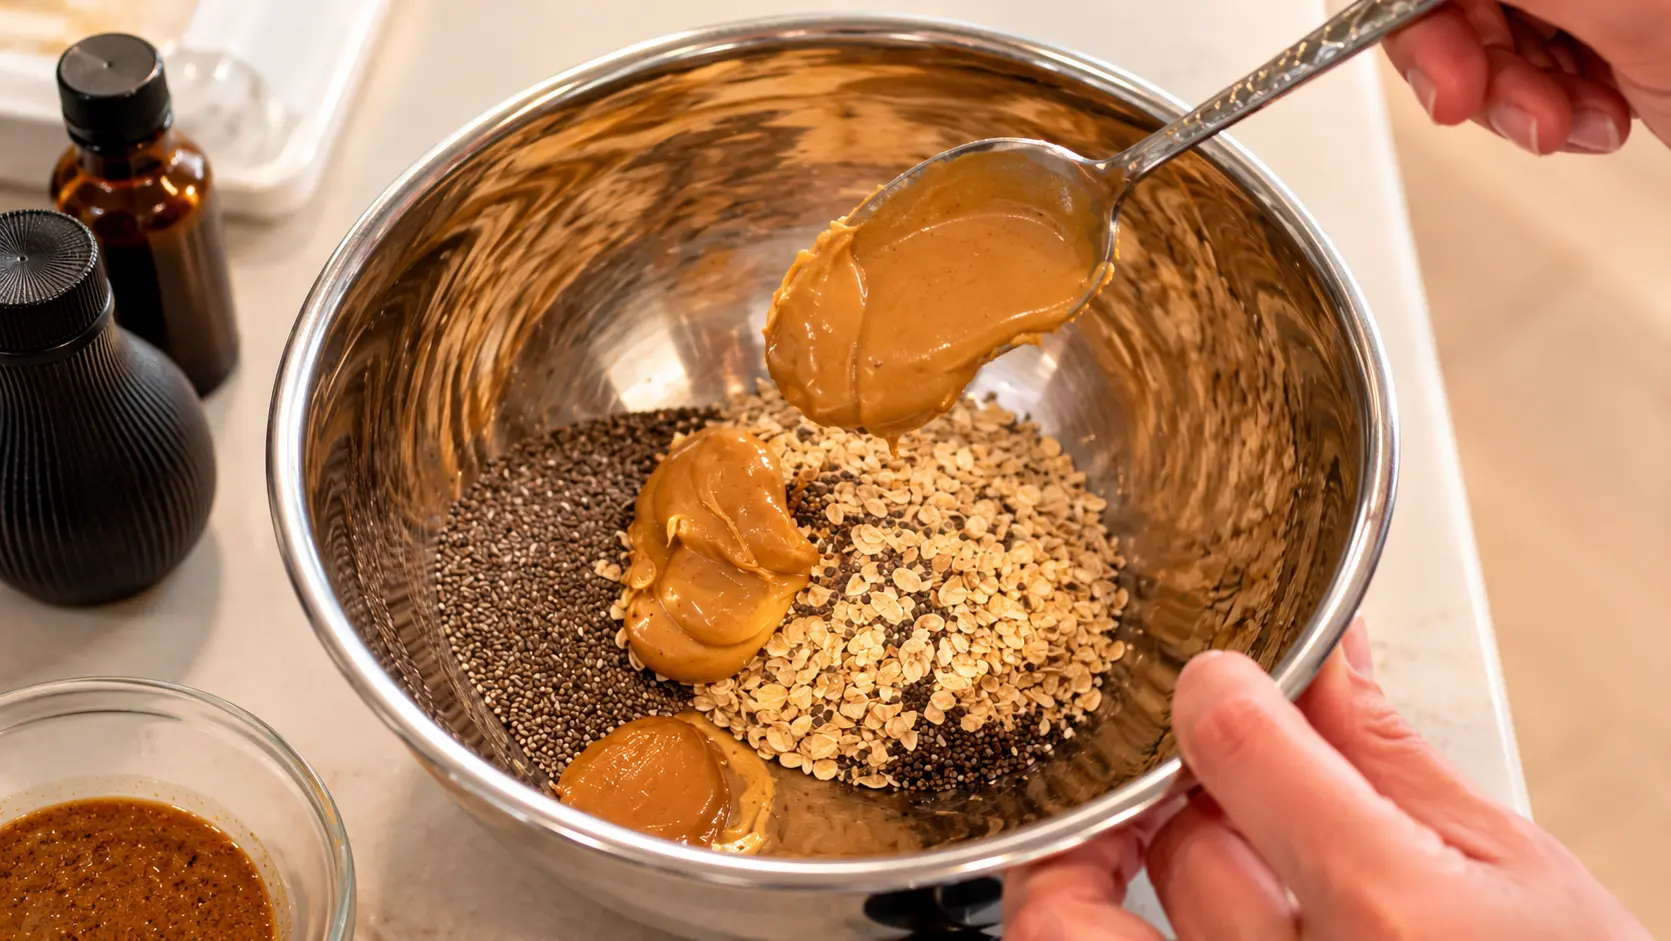
Step 1: Start with Your Base
I like to grab a medium-sized mixing bowl and add the oats first. This gives everything a solid base and makes mixing easier later on.
Then I sprinkle in the chia seeds. They’re tiny but mighty and blend right in.
.webp)
Step 2: Add the Creamy Goodness
Next comes the peanut butter, which is honestly the glue that holds everything together. I scoop in about half a cup and let it sit on top of the oats.
At this point, it already smells amazing.
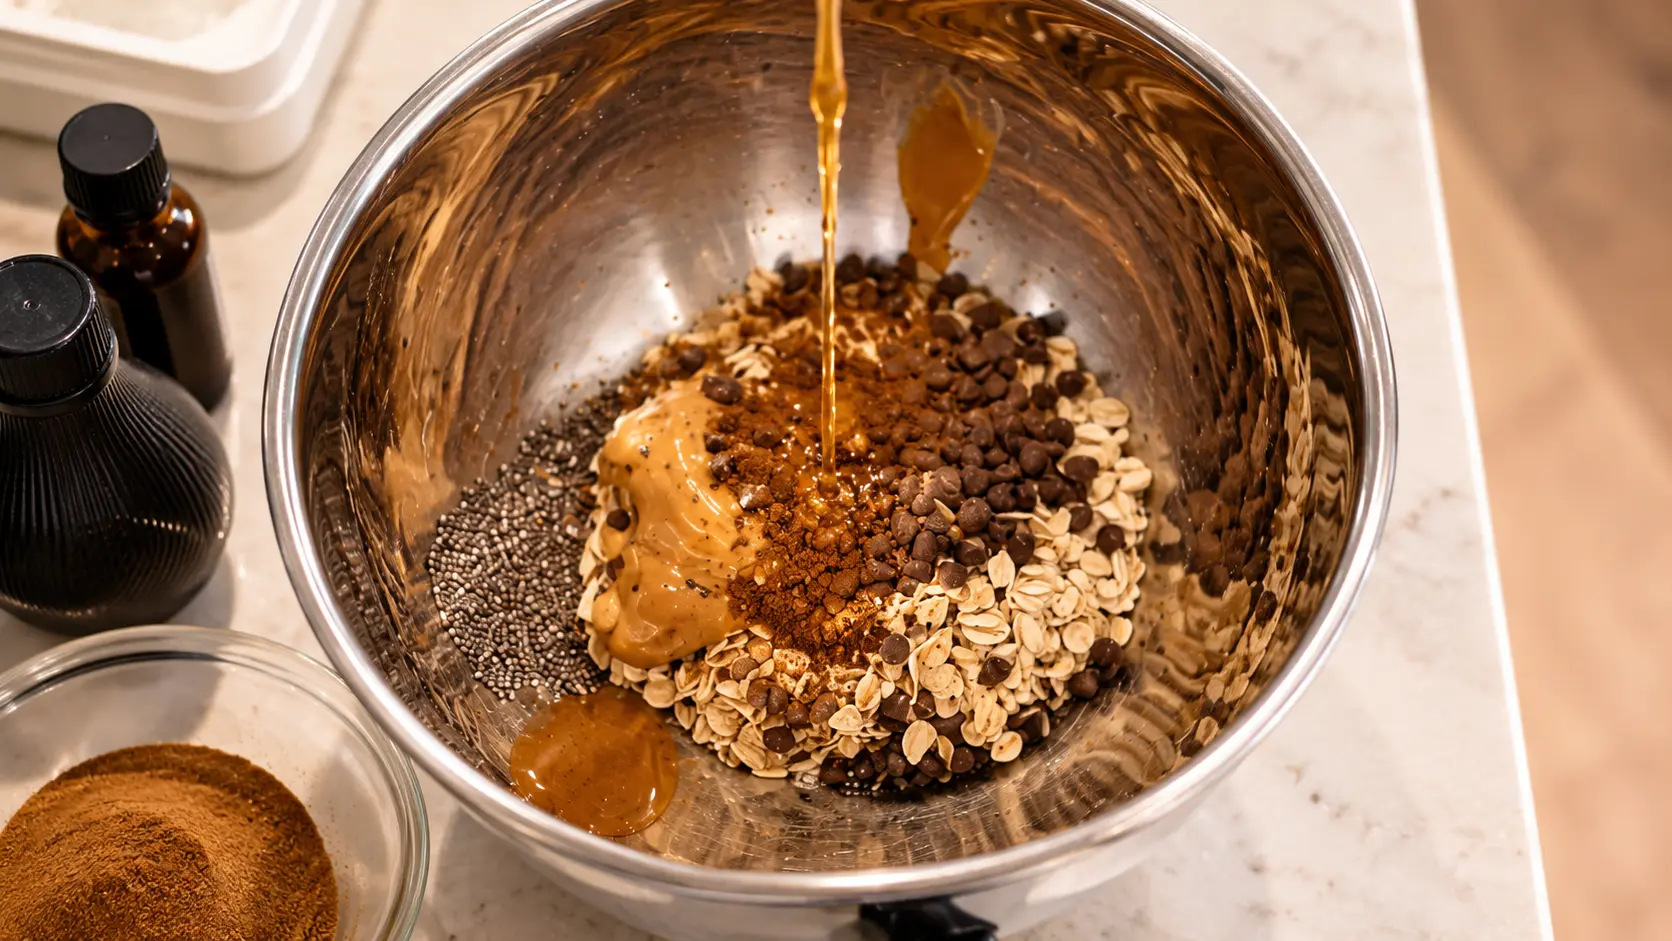
Step 3: Bring in the Sweetness
Now I add the chocolate chips. This is where things start feeling like a treat instead of just a healthy snack.
Then I sprinkle in the cinnamon. It adds a warm, cozy flavor that makes these energy balls taste next level.

Step 4: Drizzle the Honey
Here’s where everything starts coming together. I slowly drizzle about one third cup of honey over the mixture.
You don’t need to be perfect with the measurement. Just make sure everything gets a little love.
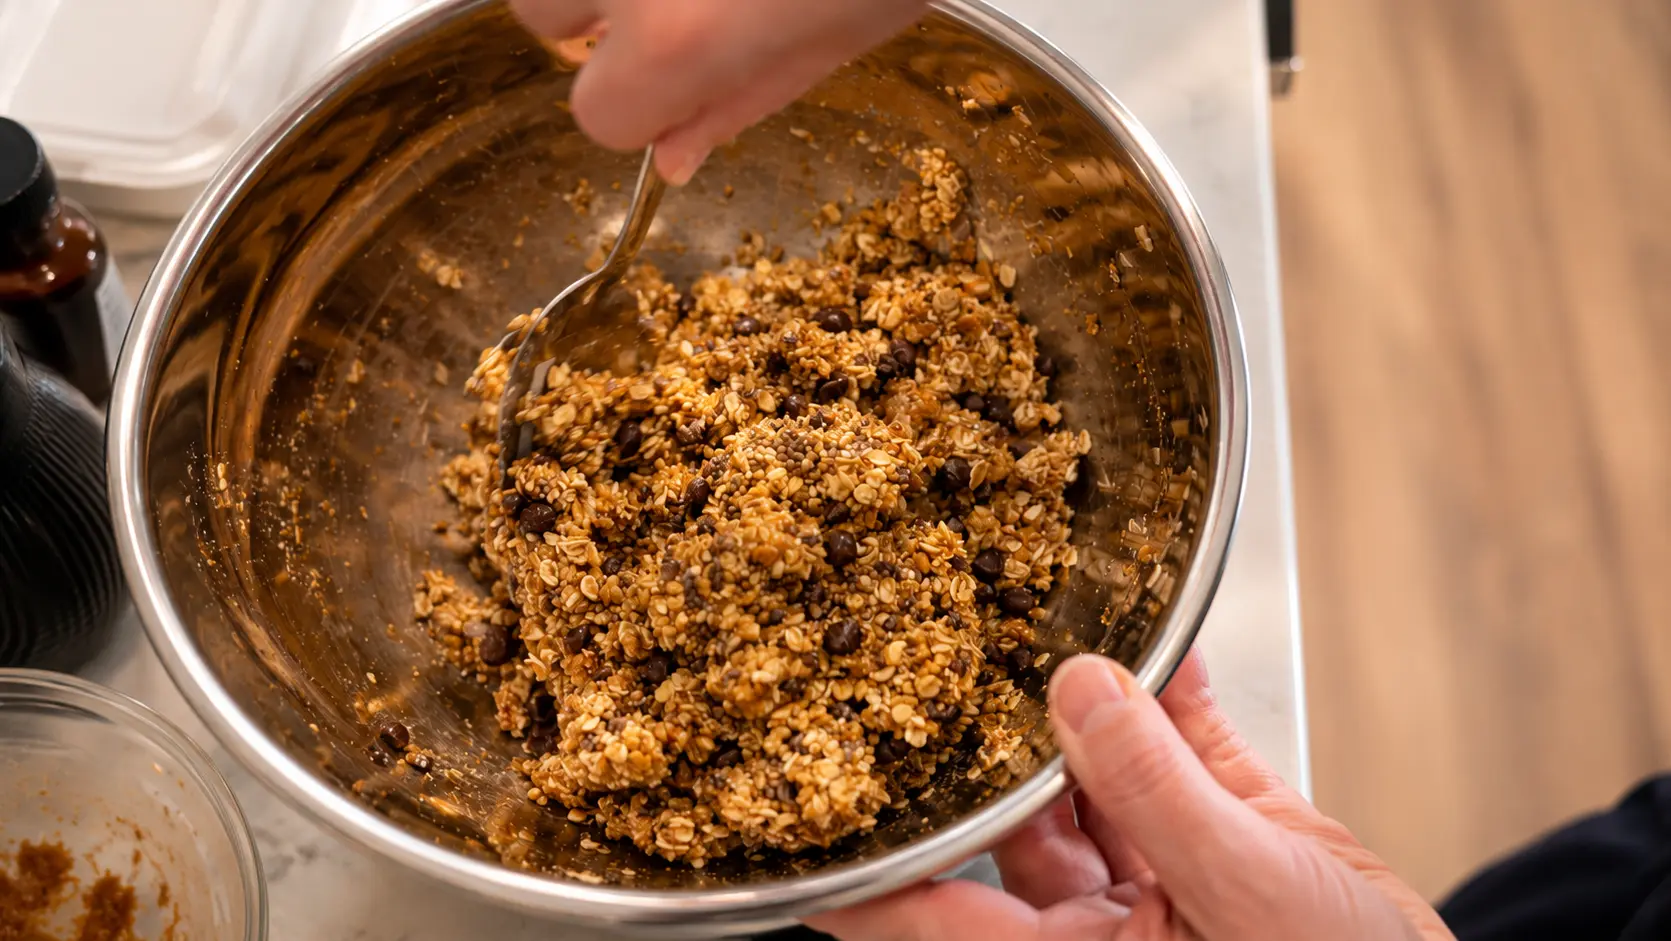
Step 5: Mix Thoroughly
This is the part where you really get in there. I use a spoon at first, but eventually I switch to using my hands to make sure everything is evenly combined.
You want the mixture to be sticky enough to hold together but not overly wet.
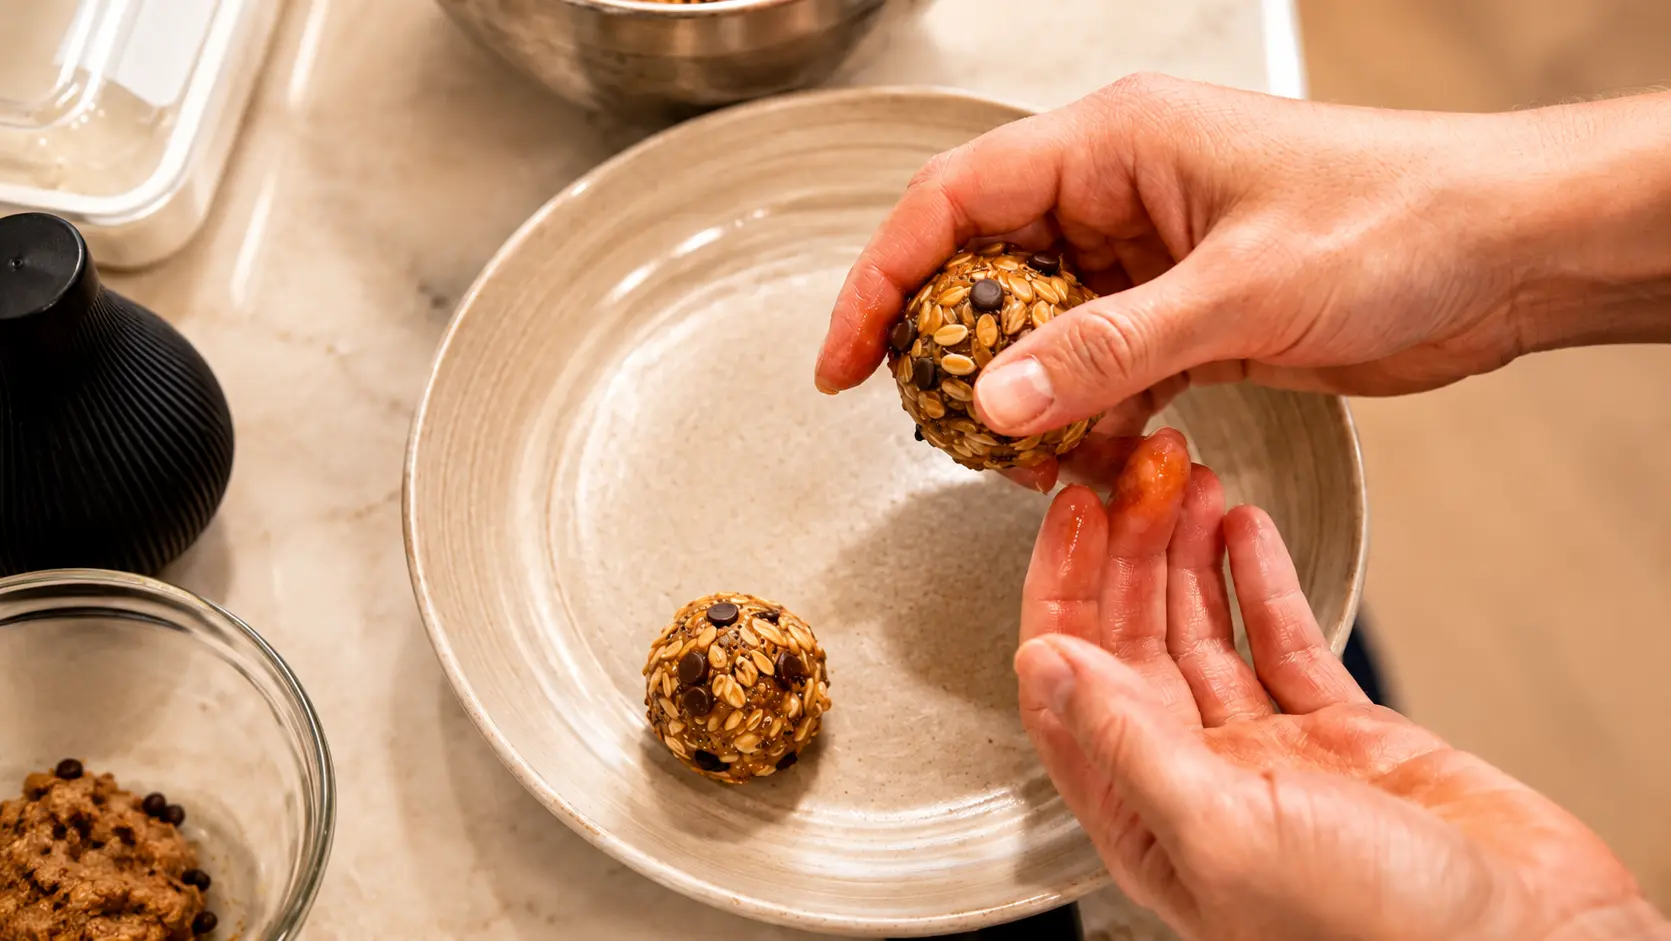
Step 6: Wet Your Hands and Roll
This step is a game changer. Lightly wet your hands before rolling the mixture.
Trust me, this makes everything so much easier and prevents the mixture from sticking to your fingers.
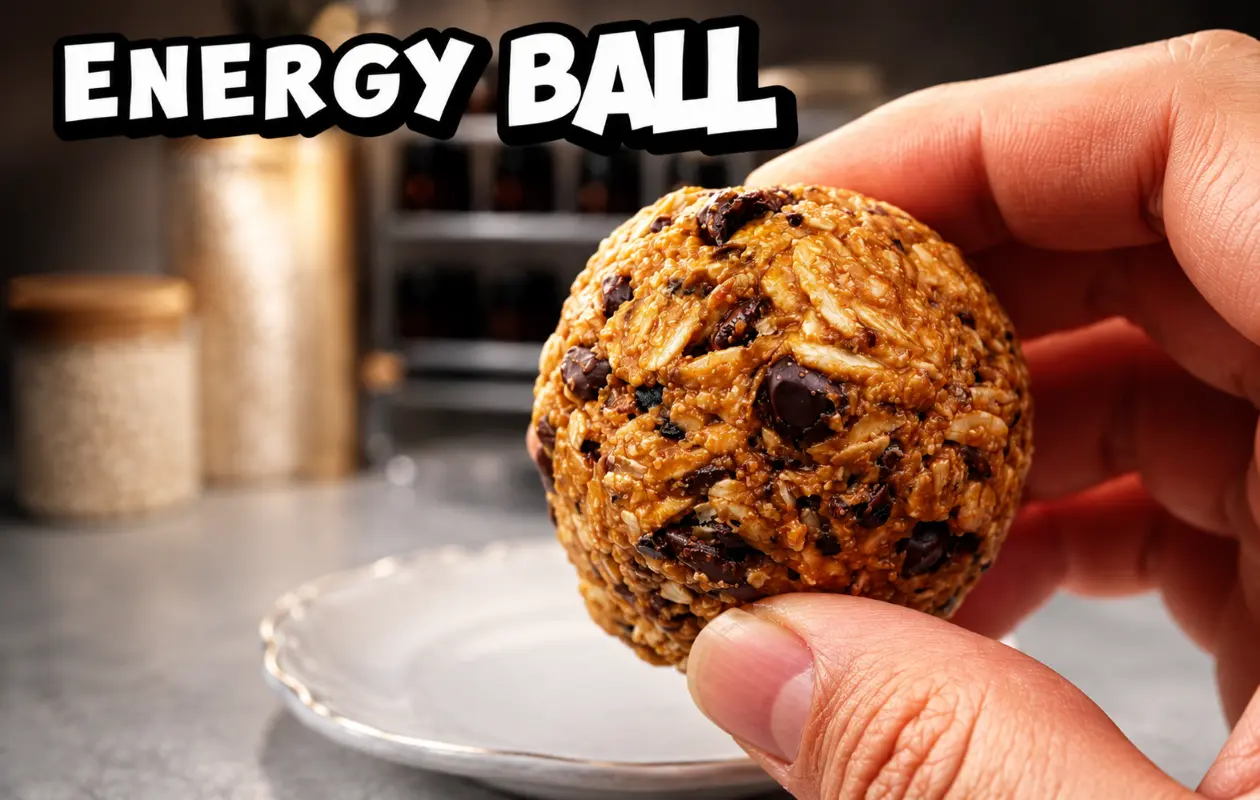
Take small portions of the mixture and roll them into bite-sized balls.
I like to keep them uniform so they look cute on a plate, but honestly, they don’t have to be perfect.
Step 7: Refrigerate
Place the energy balls in the fridge for about two hours.
This step helps them firm up and hold their shape. It also somehow makes them taste even better.
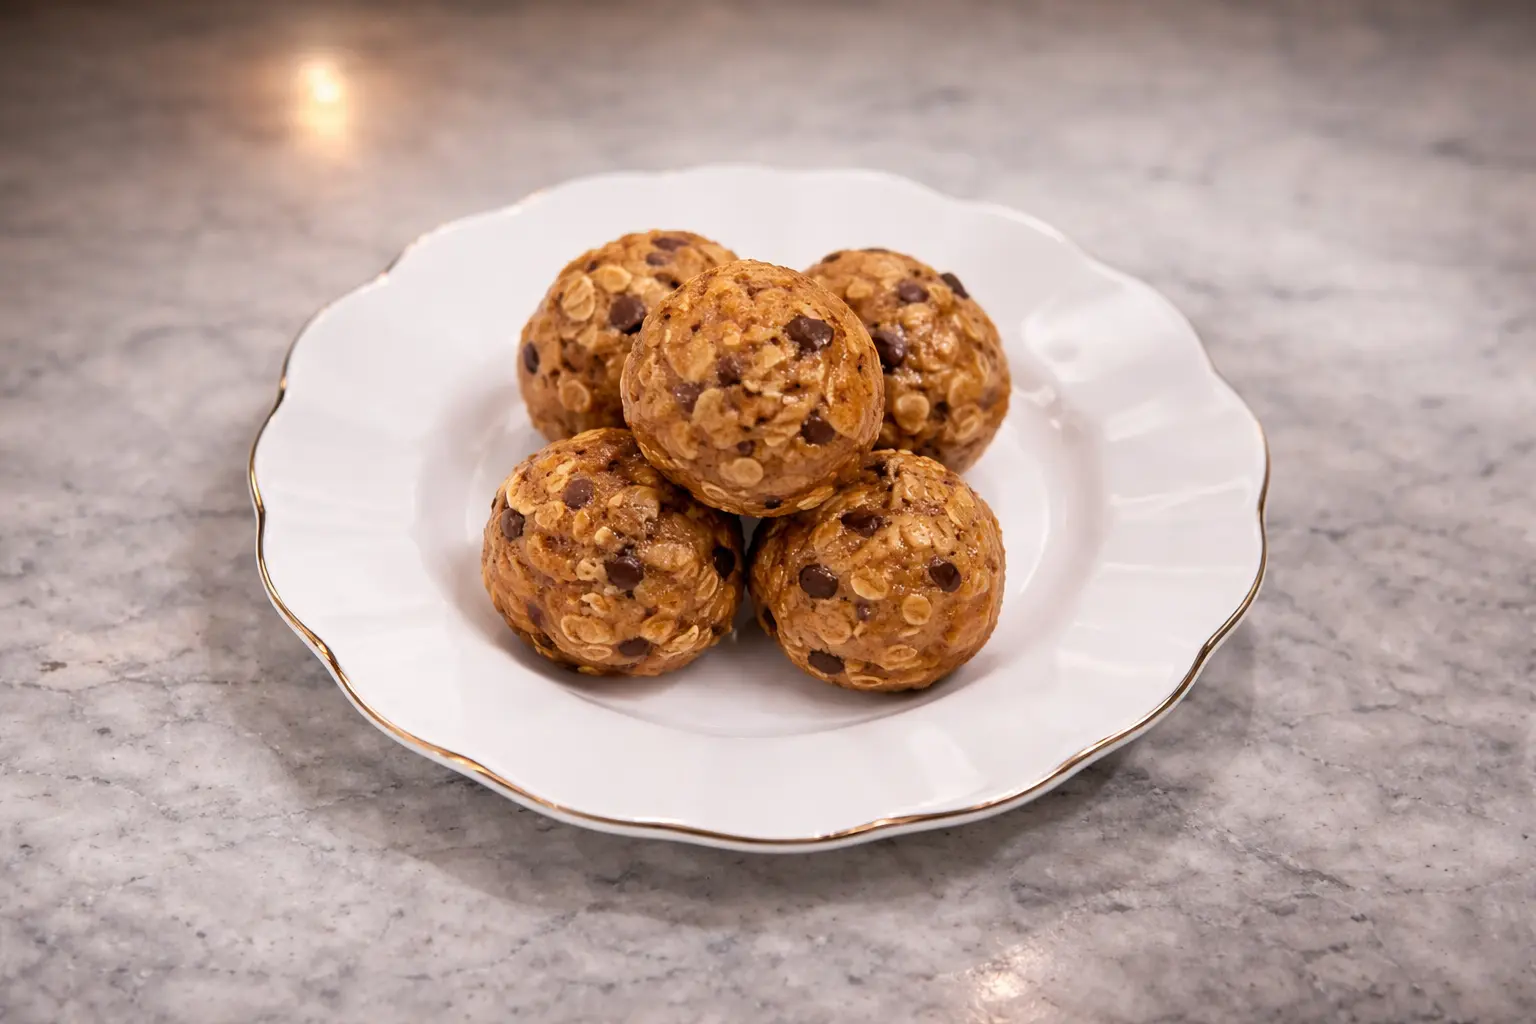
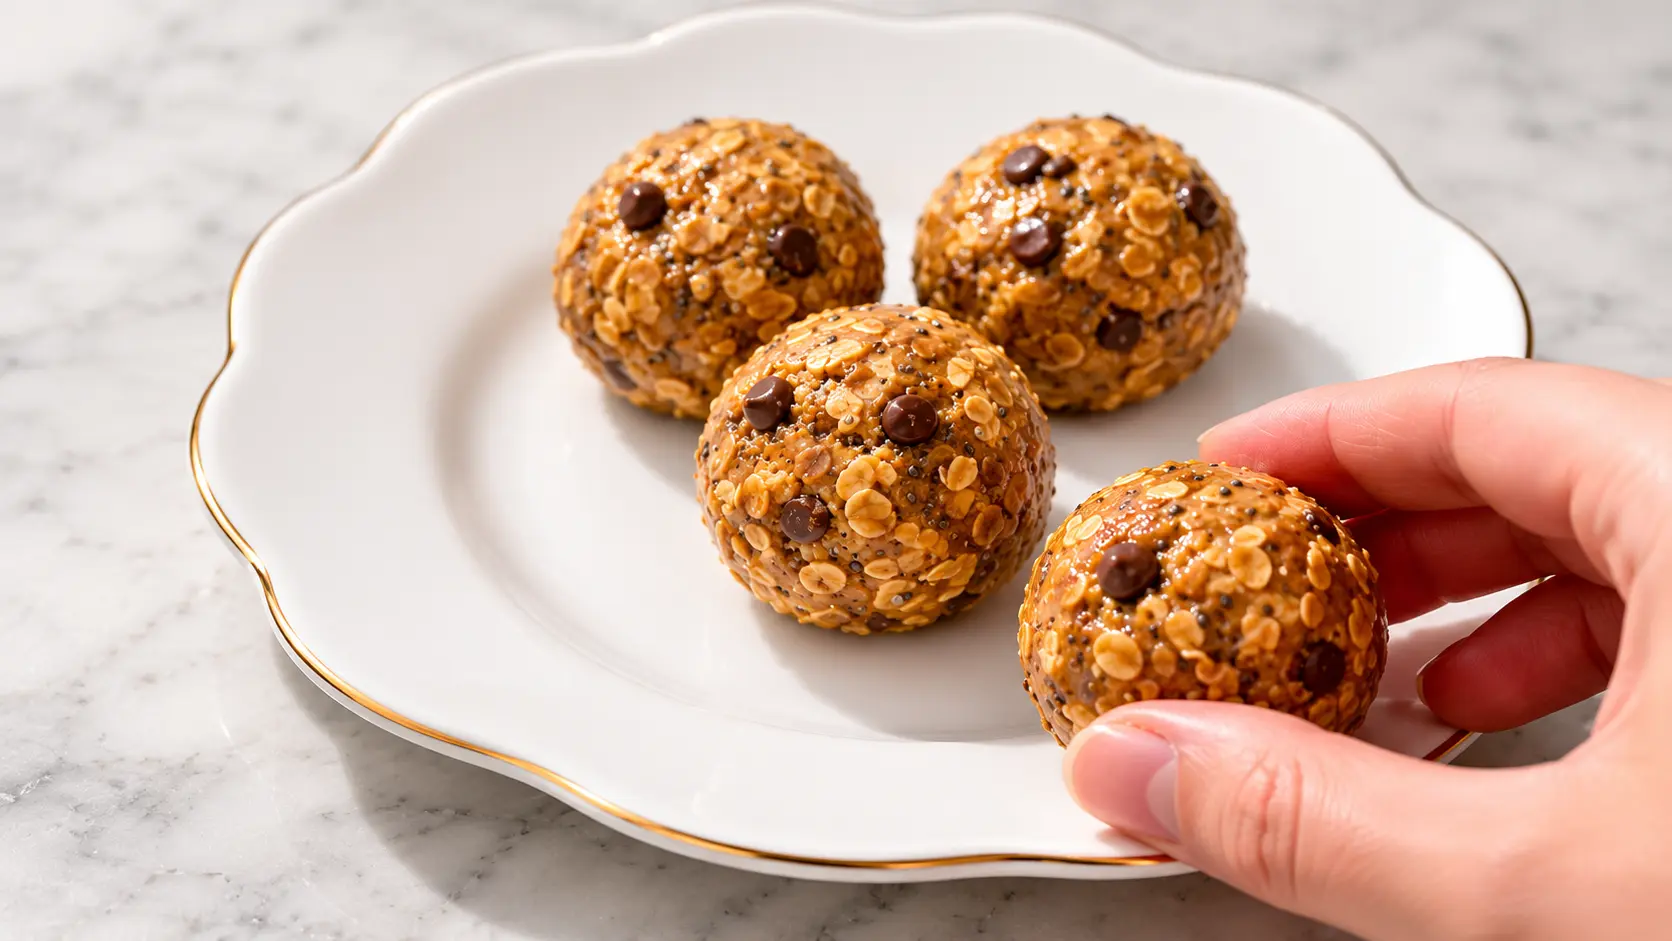
Step 8: Plate and Enjoy
Once they’re chilled, take them out, place them on a plate, and enjoy.
This is usually the moment I grab one immediately because I cannot wait.
Recommendations to Make Them Even Better
Even though this recipe is already amazing, there are a few small things I’ve learned that can take it to the next level.
First, make sure your peanut butter is well mixed. If it’s too oily or too dry, it can affect the texture.
Second, don’t skip wetting your hands. It sounds simple, but it really makes the rolling process smoother and less messy.
Third, chill them long enough. I know it’s tempting to eat them right away, but giving them time in the fridge makes a huge difference in texture.
Lastly, try to evenly distribute the chocolate chips so every bite has that perfect little pop of sweetness.
Health Benefits of No-Bake Energy Balls
These little bites are more than just delicious. They actually bring some solid benefits to your day.
Oats provide a steady source of energy and help keep you feeling full longer.
Chia seeds are packed with nutrients and add a nice boost of fiber.
Peanut butter brings in healthy fats and protein, which help keep your energy levels stable.
Honey adds natural sweetness while giving you a quick energy boost when you need it most.
And let’s be honest, chocolate chips might not be the healthiest ingredient, but they absolutely help with happiness levels, which counts for something.
My Thoughts
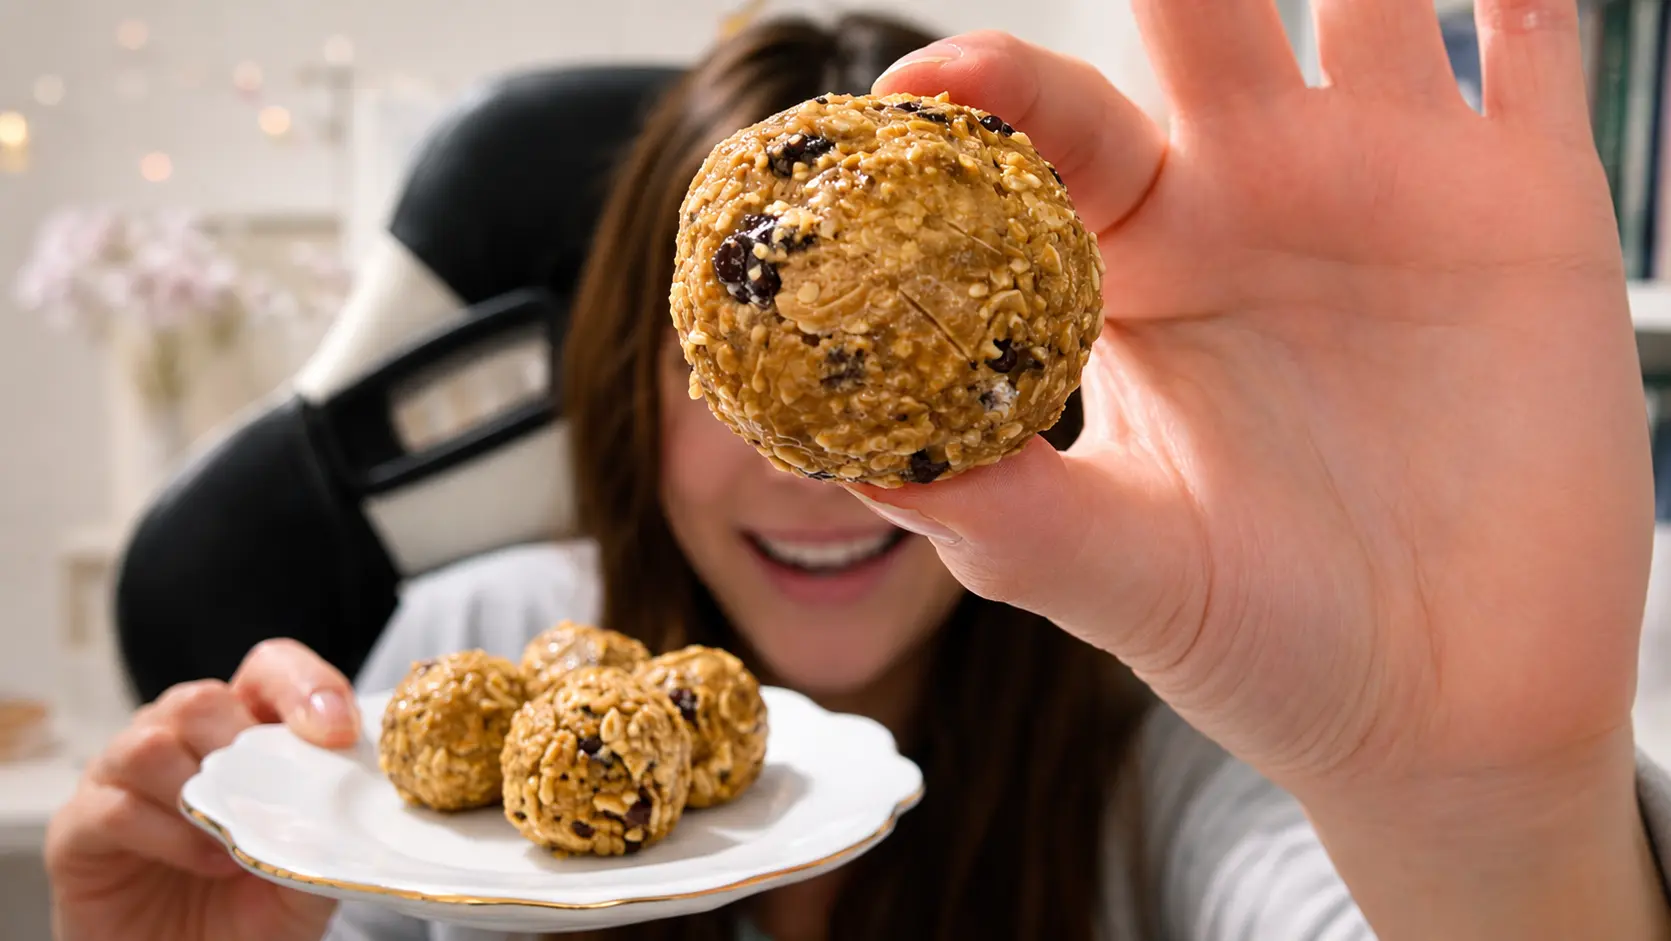
I genuinely did not expect something this simple to become such a staple in my routine.
These no-bake energy balls have saved me on busy mornings, helped me power through long afternoons, and satisfied my sweet cravings without making me feel sluggish afterward.
They feel like something you’d buy at a fancy health food store, but you can make them in your kitchen in minutes.
What I love most is how approachable they are. No stress, no complicated techniques, just simple ingredients coming together in the best way possible.
Frequently Asked Questions
1. Do I need to bake these at all
No, that’s the best part. These are completely no-bake.
2. How long do they last
They can last several days in the fridge when stored properly.
3. Can I eat them right away
You can, but they taste better after chilling for two hours.
4. Why do I need to wet my hands
It prevents the mixture from sticking and makes rolling easier.
5. Are they good for busy schedules
Yes, they are perfect for quick snacks throughout the day.
6. Can I use crunchy peanut butter
You can, but it will change the texture slightly.
7. Are they sweet
They have a natural sweetness from the honey and chocolate chips.
8. Can kids enjoy these
Absolutely, they are a fun and tasty snack for all ages.
9. Do I need special equipment
No, just a bowl and your hands.
10. What makes them so popular
They are easy, delicious, and require minimal effort.


.png)